 报名参加 Register
Android手机 图形化编程应用软件 入门公开课
软件介绍
App Inventor 原是Google实验室(Google Lab)的一个子计划,由一群Google工程师勇于挑战的Google使用者共同参与。Google App Inventor是一个完全在线开发的Android编程环境,抛弃复杂的程式代码而使用积木式的堆叠法来完成您的Android程式。除此之外它也正式支持乐高NXT机器人,对于Android初学者或是机器人开发者来说是一大福音。因为对于想要用手机控制机器人的使用者而言,他们不大需要太华丽的界面,只要使用基本元件例如按钮、文字输入输出即可。
App Inventor於2012年1月1日移交给麻省理工学院行动学习中心,并已於3月4日公布使用。
开发一个App Inventor 程式就从您的浏览器开始,您首先要设计程序的外观。接着是设定程序的行为,这部分就像玩乐高积木一样简单有趣。最后只要将手机与电脑联接,刚出炉的程序就会出现在您的手机上了。
内容
1. 软件安装
2. Java语音介绍
3. App Inventor 入门
4. HelloWorld演示
5. 程序的通用模式
6. 与其他android开发软件的比较]]>
Android手机图形化编程入门 Android App Programming for Beginners
August 8th, 2014 § 1 comment § permalink
Project City
February 2nd, 2013 § 3 comments § permalink
Metropolis“.
More about the project will be in the wiki soon as we just begun. Today we built the table where the city will be installed.
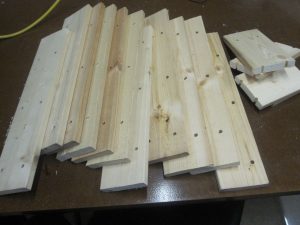


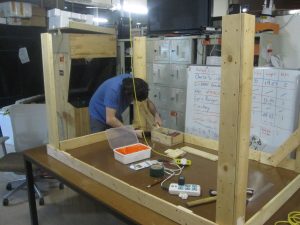
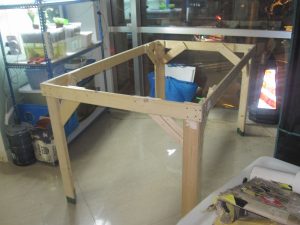 The project will be a fusion of 3D projection and robot hardware combined with mechanics and interactive components.
This project is open for all members with interest. There will be a huge part in 3D mapping/projection and this content has to be created too. The robotics and mechanical part will include Arduino based hardware for the movements, communication between the central computer and the city and interface for interactive components.
If you think you could help with something then just let us know.
]]>
Pandaboard donation!
October 29th, 2011 § 0 comments § permalink
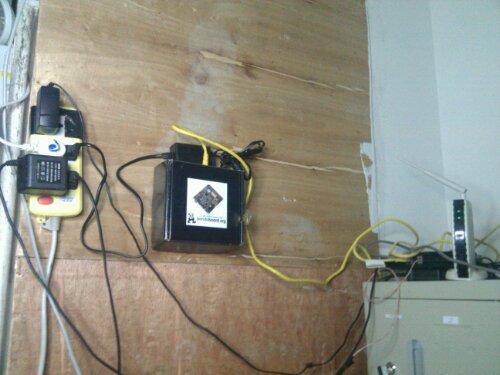
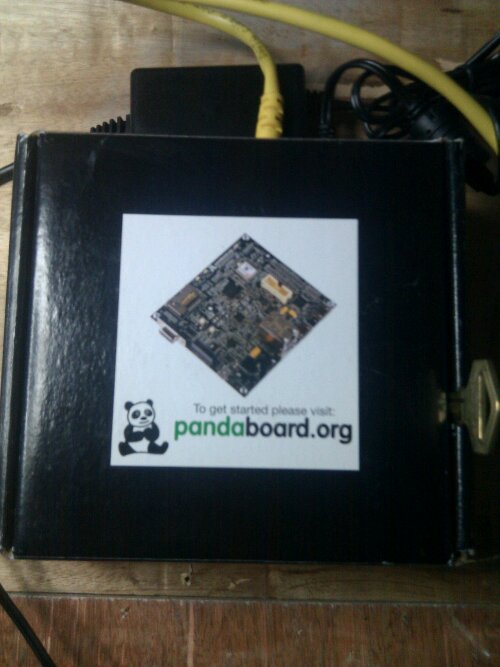
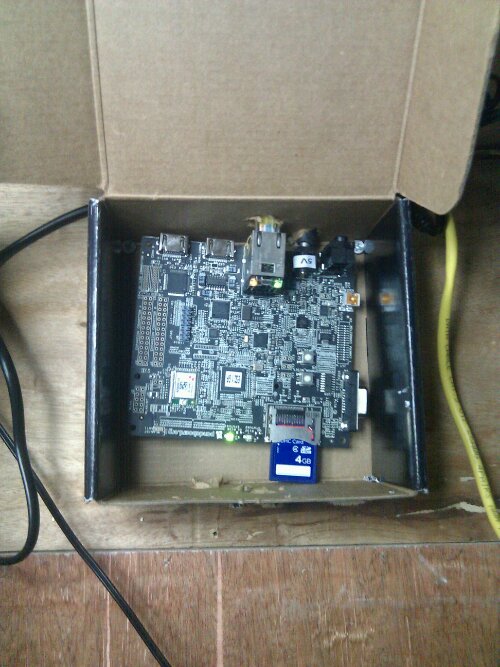
For more information, check our wiki.
]]>Got new toys thanks to DFRobot
September 29th, 2011 § 0 comments § permalink
有这些:Mega ADK, USB Host Shield, Midi Shield, X-Board, FTDI Basic,在www.DFRobot.com 网站可以找到相关资料。]]>
Rudy Bike @ XinCheJian
June 18th, 2011 § 5 comments § permalink
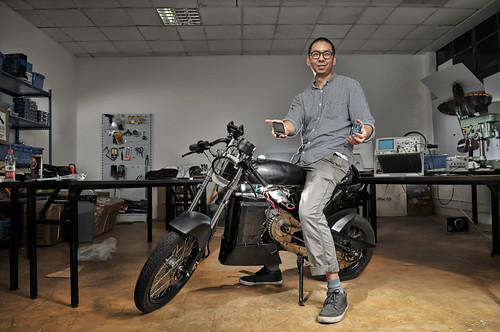
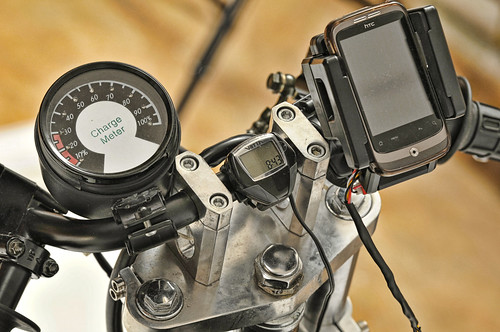
We are really happy to have the opportunities in hosting the Rudy Bike in the past few weeks so they can finish the bike for the Demo Day. Rudy Bike is a cool looking electric bike controlled by Arduino and Android.
]]>Android & Robots
June 8th, 2011 § 1 comment § permalink
Android Open Accessory Development Kit.
Android3.1平台(也向下移植到了Android2.3.4)引进了Android Open Accessory support,这使得外部USB硬件(An Android USB accessory)能够与Android设备在一个特殊的“accessory”模式下互相通信。当一个Android设备在这个accessory模式下时,接入的硬件作为一个USB host(为总线供电以及枚举设备),而Android设备作为一个USB设备来使用。Android USB附件是特别设计的,用以附加在支持Android平台的硬件设备上并且遵守一个简单的附件协议(Android accessory protocol)使他们能够侦测支持附件模式的Android硬件设备。工作坊是每周举行的(目前是英语教学)。我们将探索包括开发Android软件部分和单片机部分,涉及到的方面包括机器人的机械,电子以及软件工程学。 特别的,我们将一起研究那些兼容ADK的硬件开发板,比如Google IOIO board和Seeedstudio提供的新硬件。 付费的新车间会员可以免费参加。非会员需要支付50元/次。 更多的信息请查看“Android & Robots” wiki. 不要忘了做好准备工作以及加入我们的[email protected] mailing list!注意,这是一个需要大家合作的讨论会,我们希望每个人都能积极的参与和贡献自己的力量。 ]]>
[GGHC] XinCheJian coming out of the depths of video streaming from Android!
April 30th, 2011 § 0 comments § permalink
Ricky just make an update on his quest to streaming video from Android.
element14: XinCheJian GGHC: XinCheJian coming out of the depths of video streaming from Android!: “”
]]>Hacking HaiPad
April 10th, 2011 § 0 comments § permalink
posted a detail article on hacking HaiPad m701!
The M701 in itself is an example of hacking in China: here, hacking hardware that wasn’t thought to be workable together to achieve something close to a device that is much more expensive is not called a hobby but a full-time job! Like many others, the extremely low-cost of this 7 inch tablet is made out of a even lower cost chipset, the Telechips 8902. The Telechips was originally designed to fit high end automotive applications, not do tablets or robotics. This chipset powers a variety of similar devices: Augen Gentouch, Coby Kyros, HSG X5A, Haipad M701, Dawa D7, SmartQ v5/v7, Coby Kyros MID7005/MID7015, Imito iM7, Smartbook Surfer (Pictures) “Shanzhai” integrators prefer to keep their supply chain discreetly low-profile as they consider it their “secret” sauce. This is because in Shenzhen, manufacturers are in a race to produce a whole bunch and sell them before the local competitors do the same, often advertising capabilities of the underlying chipset that are actually unavailable to the user since unsupported by the OS.
 ]]>
]]>
Google releases Android robot libraries – DIY Drones
December 20th, 2010 § 0 comments § permalink
Wow, this is pretty big news for us at Xinchejian. Google releases Android robot libraries. In China, we have access to the biggest variety of Android devices, all thanks to the Shanzhai industry.
(Via DIYDrone.)
]]>Autonomous Robot Toy Car Project
December 19th, 2010 § 2 comments § permalink
I bought an RC car from Taobao at the extremely cheap price of 67RMB (shipping included! 10$USD!)!
