We have the FRAME!!!
Danny show up in Barcamp with a big surprise! He show me the fiber/aluminium frame of the quadcopter he just got CNCed. What a beauty!
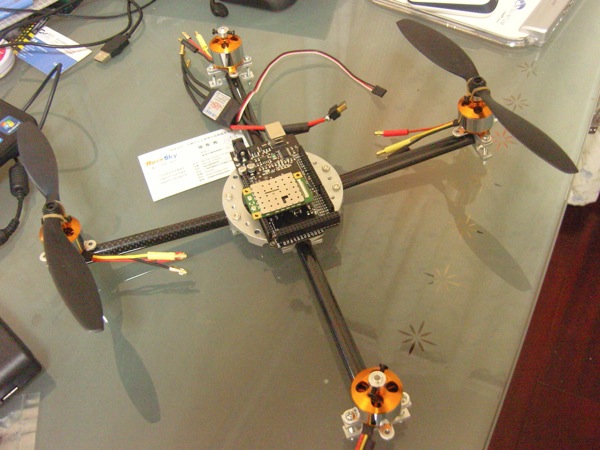
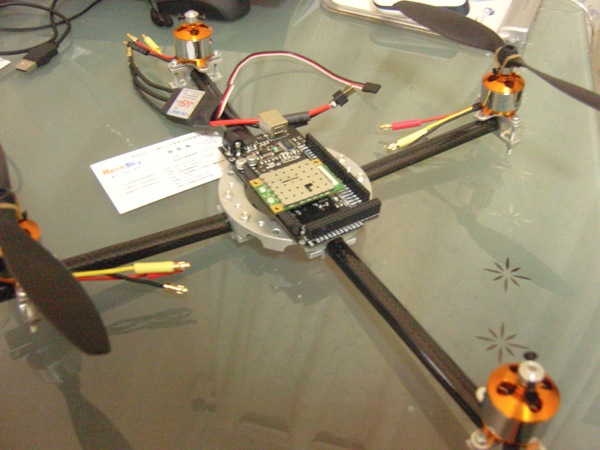
March 15th, 2011 § 2 comments § permalink
We have the FRAME!!!
Danny show up in Barcamp with a big surprise! He show me the fiber/aluminium frame of the quadcopter he just got CNCed. What a beauty!


March 14th, 2011 § 0 comments § permalink
I shoot this a while back to promote Hackerspace but never get around to publish it. Strobist is the tinker of light and the hacker among photographers.
Some strobist setup info here:
- SB-600 inside the makerbot
- SB-800 on shoot-through umbrella to the camera right
]]>
March 14th, 2011 § 0 comments § permalink
Loongson the Chinese MISP CPU is making news as China launched the new supercomputer totally based on this CPU. At barcamp, there was a session called “Lemote => Cuba.” Kind of cryptic. As I passed by the room, I saw a long time open source friend sitting inside. I pop my head in and realize it’s the Jiangsu based Lemote which makes desktop computers based on Loongson CPU.
Talked to the speaker Dr. Qiao and he said the box are shipped to 41 countries and one of the biggest customers is Cuba for only a few hundreds RMB each. The size of the box is about the same as Cuban Cigar box. Kind of funny mental picture of exchanging Linux box for cigar. The box runs Lemote-Linux and Loongson 2B at 900 Mhz. There are no fan inside the box so it’s totally quiet and low power consumption.
It’s also kind of interesting to think this Linux box is one of the force stopping the MS/Intel invasion of Cuba. Freedom box from China to Cuba? How ironical is that?
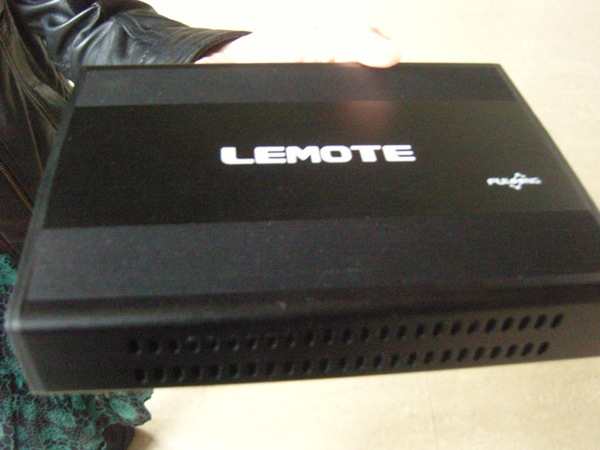
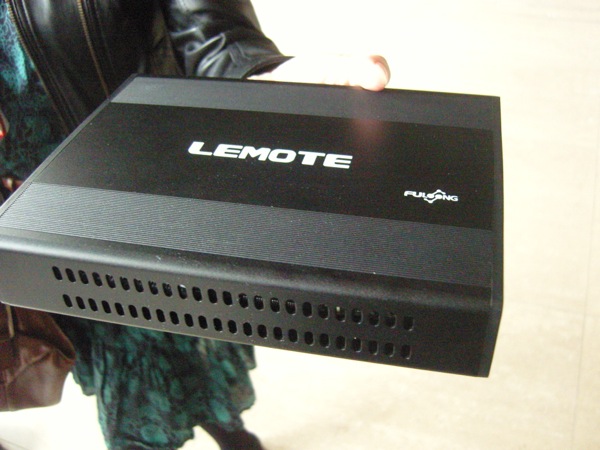
March 14th, 2011 § 6 comments § permalink
Xin Che Jian is moving!
After a 3 months of experimenting in Xindanwei, we have proven the potential of having a hackerspace in Shanghai but we need a bigger space. We found a new 100 square meter location in Anhua Lu and Jiangsu Lu inside a old factory. The place is definitely a ideal location for setting up a hackerspace. The new space will be ready by the end of March!
There are all kind of business around. I am sure we can use them in our making.


One big side of the room is full of window.

 ]]>
]]>
March 13th, 2011 § 1 comment § permalink
XinCheJian was in Barcamp Shanghai!

The robot was built the night before barcamp with YM4 from Embedream, Arduino Uno and a HC-SR04. The little YM4 is a lot of fun. The independently controlled wheels allowing the car to turn on a fix axis and this saves the use to savor to turn the limited angle SR04 around to inspect the environment. But at 3AM, it was discovered a little drawback of controlling two independent wheels while trying to make the it going straight. Well, it was 3AM so I decide to let it acts a little crazy. I am dedicating this crazy robot to the crazy Shanghai taxi driver who took me to the barcamp in the morning! I will name it 840. 😉

Kicking off the afternoon with pitch of Hackerspace and Maker Culture

Hmm, this is why the call this session “THE GREEN.” Get to make fun of making is much more fun then golf as hobby.

Rick Ye gave a talk on his open source HCR robot. I was driving it around to round up people to the talk. This version has a cam pointing upward and a automated navigation mode. It’s a lot of fun to watch it walking all over the place on its own from the video at the control.

This little guy has great potential to be a good caddy on the green.

Thanks to Scott for the video.
]]>March 5th, 2011 § 0 comments § permalink
#ym4-arduino-uno img { margin:5px; padding:5px; display:block; }
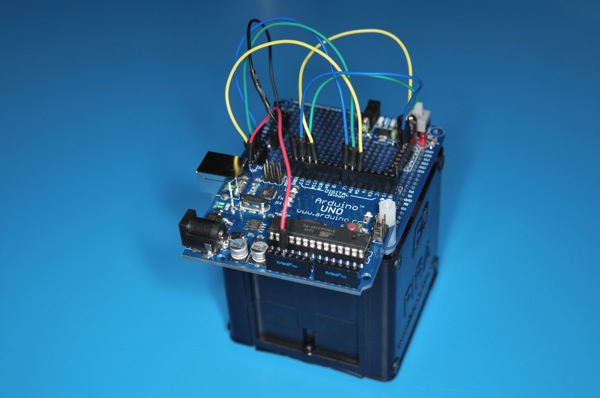
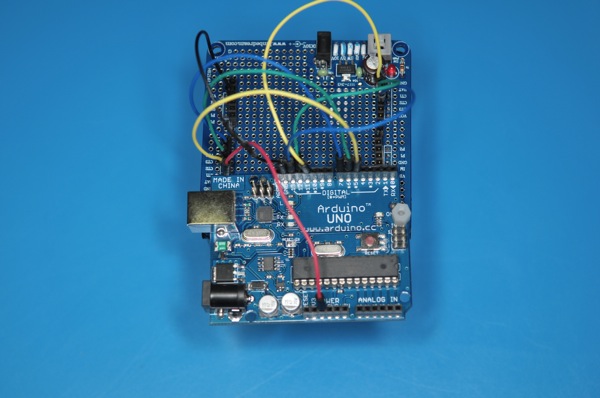
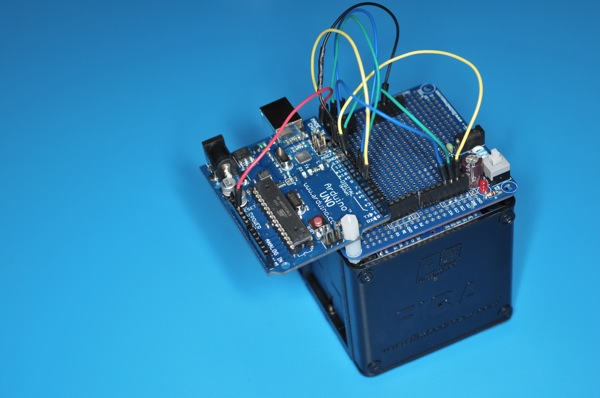
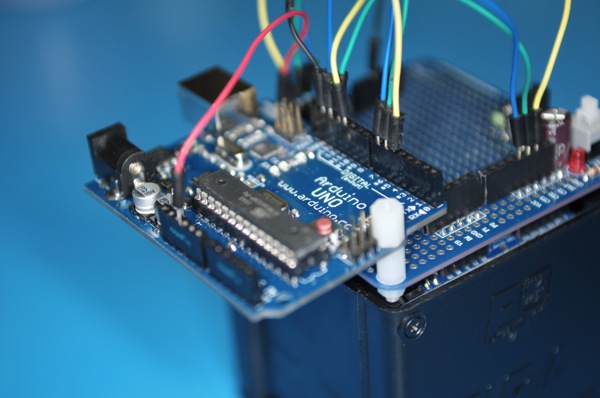
Another weekend night of hacking fun hooking up a Arduino Uno with YM4 robotic car from EmbeDream. The YM4 is a well designed FIRA compliant robot car with built in power supply. The left and right wheels are controlled independently and the built in feedback from wheels.
The break out board for the YM4 is easy to work with. The H-bridge control are CT1, CT2, and CT3. CT1 control the speed with PWM and CT2/CT3 decide the direction of the wheel. This is the same configuration for both wheels. The following is a quick sketch to get YM4 going forward.
#define RIGHT_CTRL_1 5
#define RIGHT_CTRL_2 6
#define RIGHT_CTRL_3 7
#define LEFT_CTRL_1 11
#define LEFT_CTRL_2 12
#define LEFT_CTRL_3 13
void setup()
{
 pinMode(RIGHT_CTRL_2, OUTPUT);
 pinMode(RIGHT_CTRL_3, OUTPUT);
 pinMode(LEFT_CTRL_2, OUTPUT);
 pinMode(LEFT_CTRL_3, OUTPUT);
}
void loop()
{
  digitalWrite(RIGHT_CTRL_2, 0);
  digitalWrite(RIGHT_CTRL_3, 1);
  analogWrite(RIGHT_CTRL_1, 128);
  digitalWrite(LEFT_CTRL_2, 0);
  digitalWrite(LEFT_CTRL_3, 1);
  analogWrite(LEFT_CTRL_1, 128);
}
Now, the TODO list
