Fix the aquarium air stone strip to the bottom of the drainage screen. Thanks to Rocket’s suggestion with his background in water processing, the air stone is mounted upside down. This is really clever one. It avoids deposit on top of the stone to make the strips last longer. Cool idea!
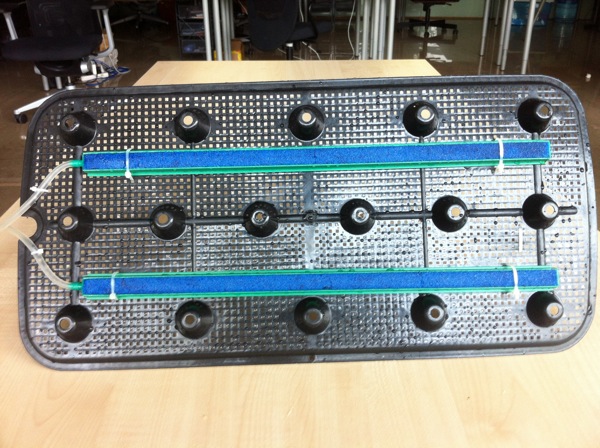 A small piece of PVC pipe with holes is used to tell water level and fixed on to the screen with cable tie.
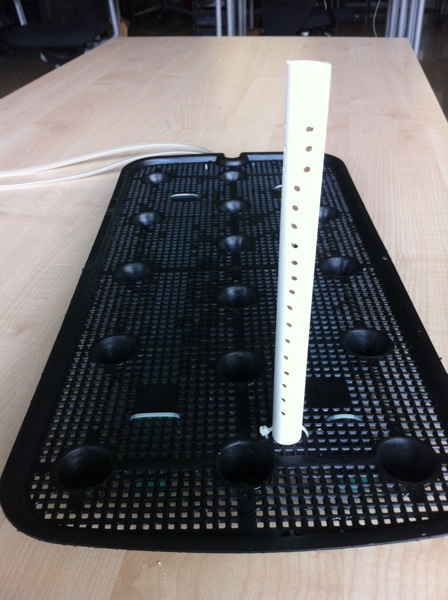 PVC pipe is used to protect the air pipe from be squeezed by the ceramic ball.
 All done and ready to fill in the ceramic balls.
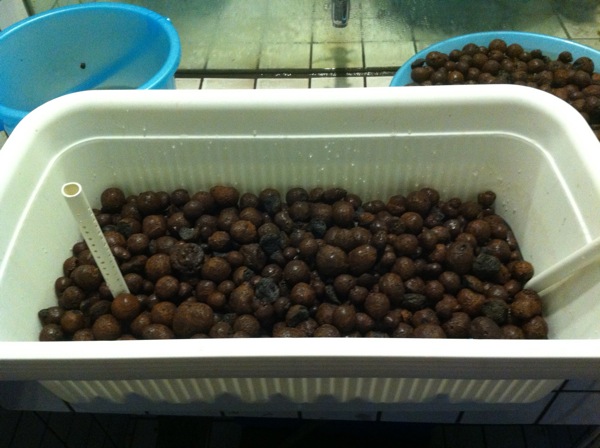 Big ones at the bottom with 2 cm deep of small one covering the top. While filling in the nutrient solution, make sure only up to the big ones’ height and keep the small one dry. The small one is mainly used to insulate the lights and heat of the Sun from reaching the solution to prevent algae growth and heating up the solution.
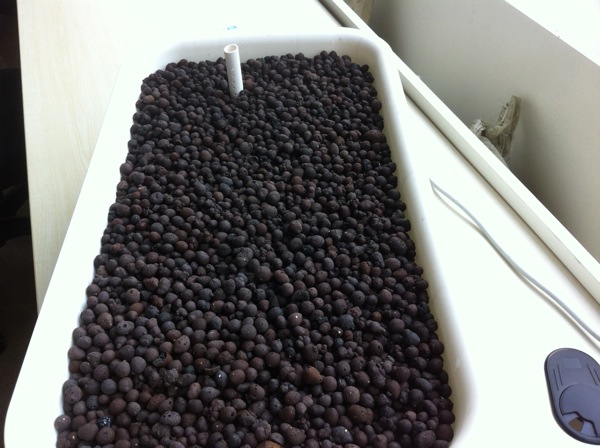 Transplanted some cucumbers, sun flowers, and other seedlings started in the past few weeks.
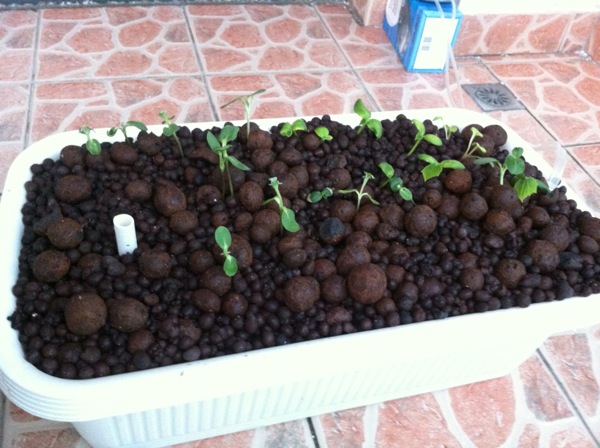 Some words of advice, soak the ceramic ball in the water a few days before setting up the system so they will sink into the water. At the last picture, the big ball float to the top while I was planting the seedling.]]>
Building a simple Hydroponic Planter
August 12th, 2012 § 6 comments
陶粒还是太清,不足以固定植株吧?
呵呵,陶粒要先泡水一段时间,吸收够了水后就沈下去了,这次做的太匆忙,忘了这个手续。
你得盆是用了这个吗?
http://item.taobao.com/item.htm?spm=a230r.1.10.75&id=15262419571
我也有兴趣做一个。 这周六再聊吧。 我可能需要一点材料。 =)
你的连接里的盆看起来差不多,好像长了点。如果你不是很急,周六的时候问问David他是在哪里买的。另外,你需要哪些材料?要不要事前帮你准备着?
感觉还是提供中文的UI比较合适,既然主要是面对中国用户,或者可能要在做过做科普之类的,还是尽量照顾下不是很擅长英文的国人吧。虽然Name Email Website这些很简单。
中文在这里